Lighting effects

To start with we changed the foreground to brown and the background to grey. After this, go to filter, render and clouds. Also going to filter,
noise and add noise.

Then click channels, add channel and then it gives you an alpha channel. Then go to filter, render and clouds.

After this go to filter, render and chose lightning effect which gives you the rock effect.

Textures from around the college
We went around college with paper and a graphite pencil and collected textures from around the college. Some of the textures were from elevators, railings, wooden tables,walls, sculptures, bricks and other textures.
These textures were from the elevator and from the railings near the elevator, as well as the textures from the walls around the area.

These textures were from the walls out side and from the wooden tables outside.

These three textures were all from the walls around the college giving near enough the same texture.

These textures were from a sculpture, the wall textures near the wall and some metal that was at the bottom of the wall outside.

This was from a post box that was attached to the wall outside.

These textures were also all from the walls and of bricks.

I then used one of the textures to create a pattern to use as a back ground and a fill for the text using a simple texture.


This was easy to create as I wrote up how I created a piece similar to this because of a demo that we did before. I like this technique and I feel I will often use this in future work.
I repeated the process on another texture but I decided not to involve text into the piece as I liked what I created from a simple texture.


Firstly I opened a new document at the size of 640 x 480. I then set the foreground colour to to
#6edbff and the background colour to #000000.
Then select Filter, render, clouds
then filter, filter gallery, artistic, plastic wrap and then apply these settings
Highlight strength - 10
Details - 5
Smoothness - 3


I then went to filter and chose oil painting and messed around with the setting to get this piece.


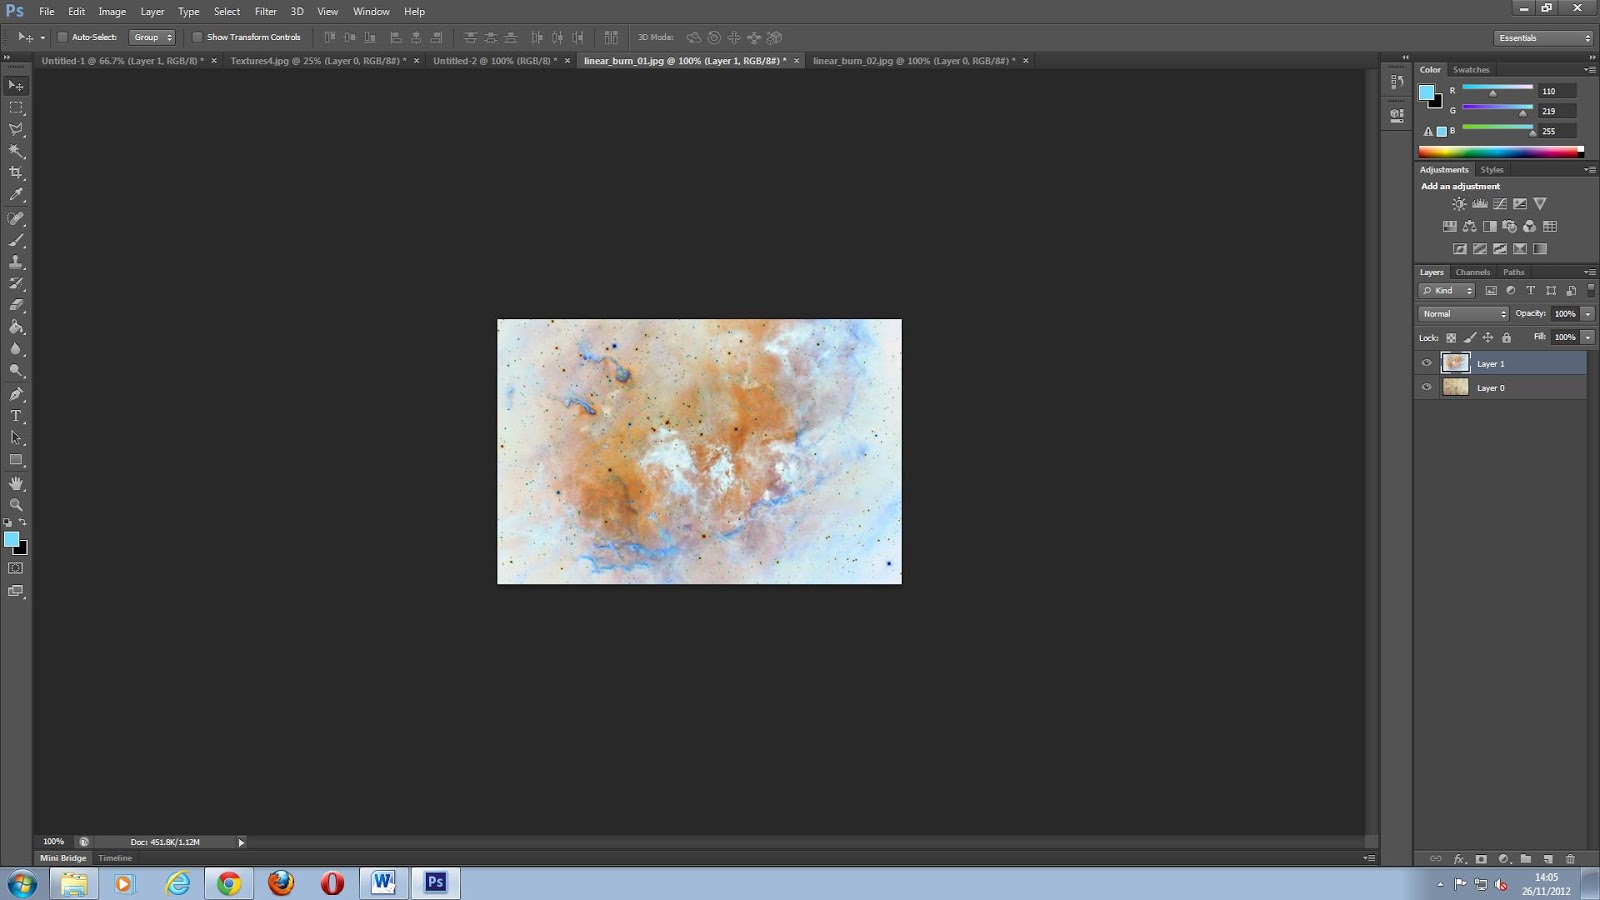
Firstly I took these first two images from a tutorial online. The second image had to be the top layer and then hold Ctrl & I to invert the image. Then chose linear burn and then reduce the opacity slightly.


Render, fibres - variances 16 and strength 4. Then blur, Gaussian blur - 3.0 pixels

I inserted clouds, then went to sharpen. Filter, pixelate, fragment. I then used the lighting effect.

I used the same texture for this piece. In alpha I made the foreground colour #4fc1a7 and the background #000000. I then added clouds and then went to pixelate and chose mosaic and moved the lighting effect around.

In Alpha, I went to Filter gallery, Artistic and chose sponge. I then added noise.


No comments:
Post a Comment